Installed by TJ Kitchen Design
Choosing a splashback for your kitchen is always an integral part of your refit or design idea, but it also needs to be hardwearing, practical and safe.
So, in the next few hundred lines we are going to give you a few tips on selecting the best option for your decor.
What is a splashback and what are they for?
Splashbacks are, essentially, to protect the walls of your kitchen from the daily rigours of food preparation, cooking and condensation.
But, they can also give that extra ‘Wow Factor’ when it comes adding a little of your personality to the overall design.
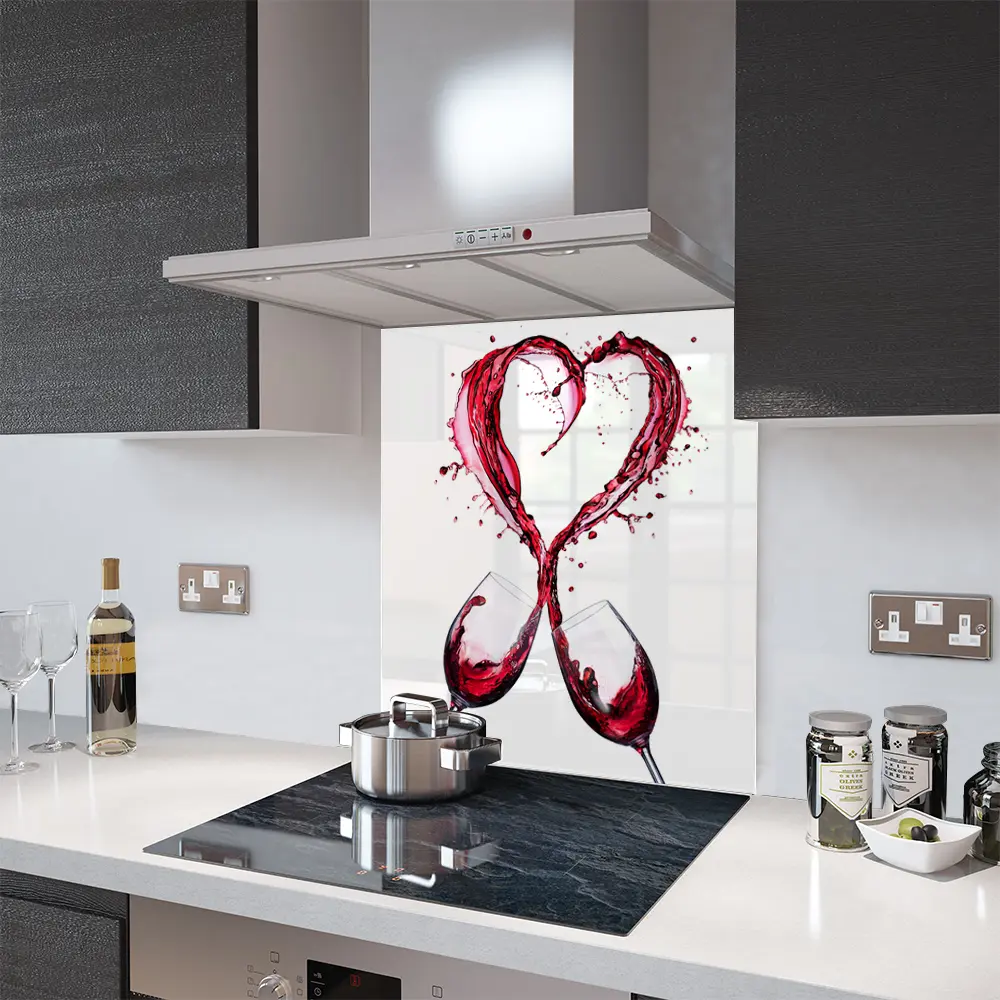
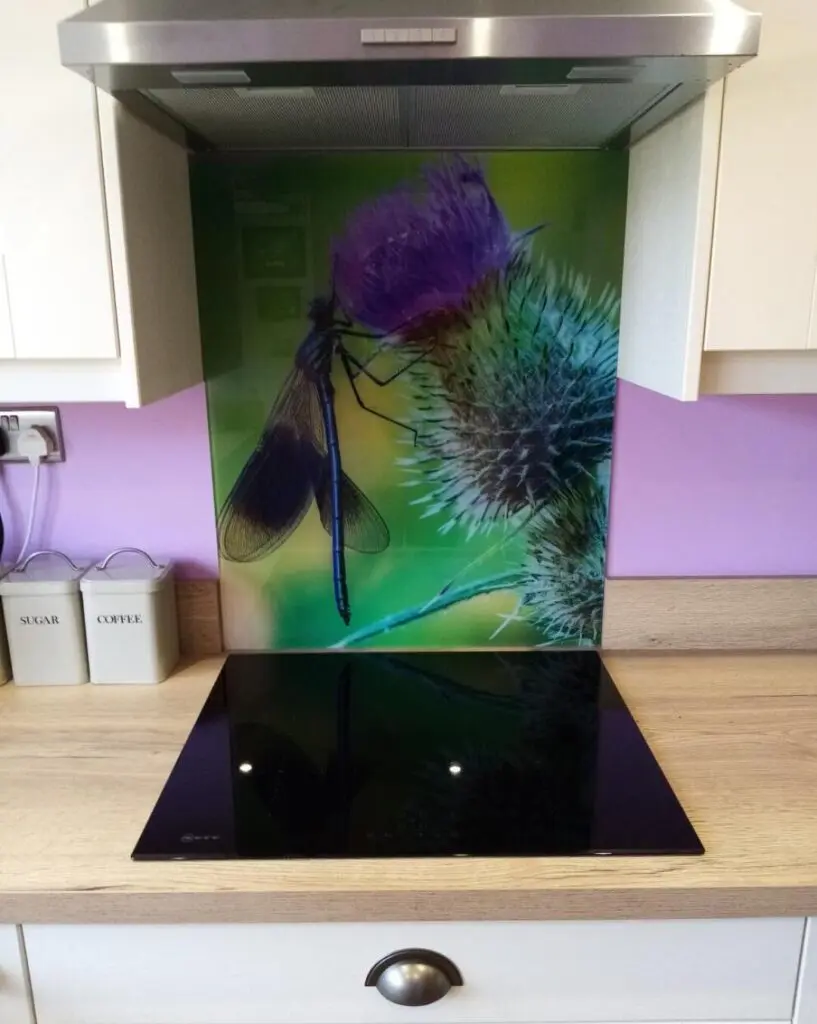
Most manufacturers offer a huge selection of materials, colours, and patterns to create a personal and endearing difference to the look of your kitchen. It is especially true for custom Premier Range as we offer 1000s upon 1000s of designs from our own artists, stock images and Shutterstock(TM).
There are simply no restrictions but your imagination and you can push the limits of your imagination to create the perfect look. Whether you want a relaxed look or something more practical for a busy family kitchen, you can search the archives for that perfect colour, image or pattern.
But, practically speaking, what material should your splashback be made from?
A few ideas are given below to help you get started.
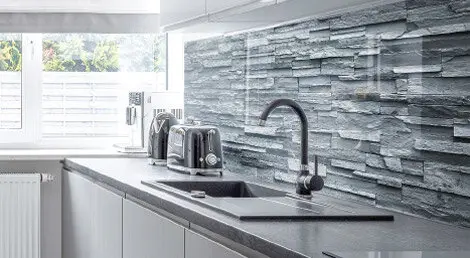
What are the advantages of Glass Splashbacks?
Toughened Safety Glass is ideal for most kitchens and tiny spaces.
It’s tough, easy to clean and heat resistant. Though it is always a good idea to check with any manufacturer what temperature the glass can resist.
Most toughened safety glass is usually resistant to around 500 degrees which that is more than enough if you install your splashback the recommended distance from the hob.
A helpful side effect to installing glass in your kitchen is that its reflective qualities help increase the light levels in your room, making it appear larger.
This can be enhanced by adding lighting to the top of the splashback, underneath cupboards and on the cooker hood.
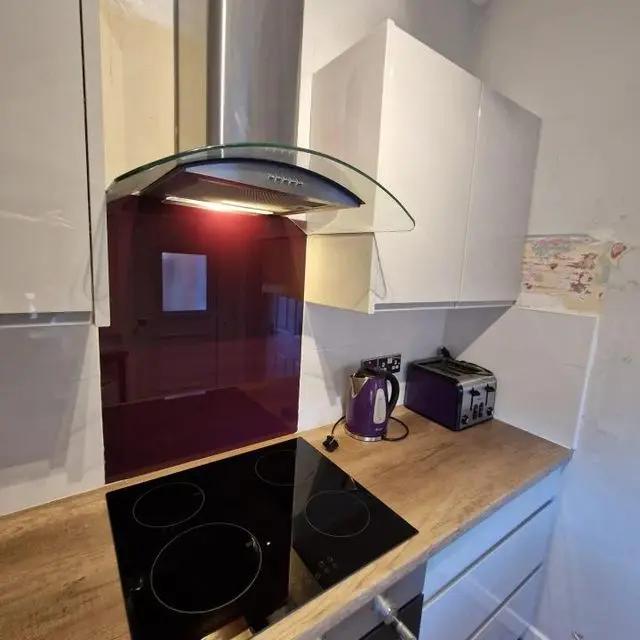
Design wise it’s important to make sure the splashback enhances, rather than clashes with, your overall design.
We would recommend a plain colour, or a simple design, if you have a wood-effect kitchen, bright paint or wallpaper.
That said, most modern kitchens have smooth, slick lines and plain, classy units.
If that’s the case then we suggest you add a talking point to your decor with a vibrant colour, an eye-catching design or even an image you’ll never get tired of looking at.
Are Acrylic splashbacks suitable for the kitchen?
Acrylic kitchen splashbacks can also be a practical addition to any home but we wouldn’t recommend them behind gas, or some electric, hobs. They are usually fine behind induction hobs .
Acrylic is easy to work with if you want to cut or shape the item yourself, so it is often a great choice for under cupboards and windowsills.
They can still be as stylish, durable, and clean as glass, although they may scratch slightly easier.
Coming in the same colours and images as glass splashbacks, they can be a fantastic and hygienic addition to any kitchen.
Acrylic splashbacks are also a fantastic addition to the bathroom, behind sinks, along the side of the bath or even as bath panels!
However, simply by installing an acrylic splashback elsewhere in your kitchen, you can significantly improve its appearance.
Top Tips
- Consider which areas of your kitchen need protection.
- Would you benefit from a simple image behind the hob or do you want something more complex that covers most of the walls?
- Consider what colours and materials will complement your kitchen worktops. You can leave it or mix it up for a statement-making contrast.
- Note that some materials are easy to clean. For example, glass splashbacks are more accessible to wipe than grooves in a tiled wall.
How do you order and install a Splashback in the kitchen?
1. Measure once, measure twice and measure again!
Toughened glass splashback can not be altered once they have been tempered or hardened.
So make sure the measurements to give the manufacturers or fitter are accurate.
We recommend the same with acrylic splashbacks too as it will be hard to keep the edges straight when you cut them.
2. Cutting
Different manufacturers offer different services but, like Premier Range, some will offer a template service meaning you can add cut-outs, socket holes and even curves.
The material will be cut precisely, in state of the art machines, so will be exactly as you have specified.
3. Installation
If you are unsure on installation, we would suggest hiring a fitter to attach the splashbacks for you.
If you are happy to get your DIY on, then you can either use the manufacture’s recommended adhesive*, you can order the item with pre-cut screw holes or even use mirror clips.
Be sure to seal the panels around the edges to ensure condensation, and other nasties, don’t get behind the splashbacks and damage the print or colour.
*some adhesive could affect the print/colour.
So, can you sum that up?
Why, yes I can!
Basically:
- Choose the right material for where the splashback is being placed
- Measure once, twice and then again!
- Choose a reputable company to make your splashback
- Make sure the design complements your kitchen
- Use a recommended adhesive
- Seal the edges of the panels
And, of course, check out the fantastic range here.